

The first part of this mini series covered installing Apache on the Raspberry Pi, you should have a web server installed as a pre-requisite before installing PHP.
Install PHP
Firstly, launch LXTerminal on the Raspberry Pi or SSH into it.
Next, we want elevated priveleges, so:
sudo bashnext, we install PHP:
apt-get install php5There are quite alot of packages for PHP, to get all the pacakges you could run this command instead:
apt-get install libapache2-mod-php5 libapache2-mod-perl2 php5 php5-cli php5-common php5-curl php5-dev php5-domxml php5-gd php5-imap php5-ldap php5-mcal php5-mhash php5-mysql php5-odbc php5-pear php5-xsltNow you have PHP installed, we need to reboot, then we can test the install
rebootNow we have rebooted, we can test the PHP installation, open up a new terminal window and type:
cd /var/www
sudo nano phpinfo.php
type the following into Nano:
<?php
phpinfo();
?>
press CTRL x and then Y and then enter to save and exit
Next, point your browser to http://your-raspberry-pi-ip/phpinfo.php
you should see something similar to the below..
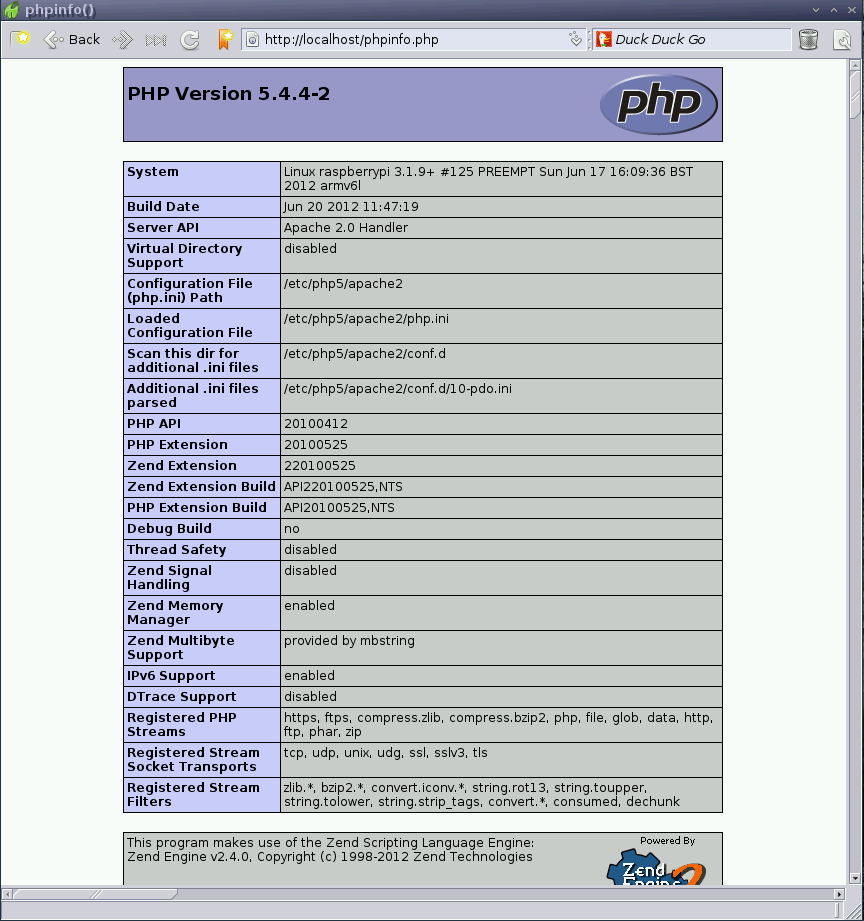
Concgratulations, you now have PHP running!
Other articles in this series:
Raspberry Pi – as a web server Part 1 (Apache)