

Ok, so in my previous blog post we covered the basics of what the Raspberry Pi actually is, now it’s time to plug it in and make it do something!
*Note, this is for the original Raspberry Pi Model B, I will shortly be setting up a new post, stay tuned!
Prepare an Operating System
First off, I downloaded the Debian Squeeze image from the Raspberry Pi website, and as I primarily use Windows, i used Windows Image Writer from here to transfer the image to the SD Card. if you are using Ubuntu (or similar) you can use DD:
unzip name_of_zip_file
sudo dd if=path/name_of_unzipped_image.img of=sd_card_path (e.g. /dev/sdc)
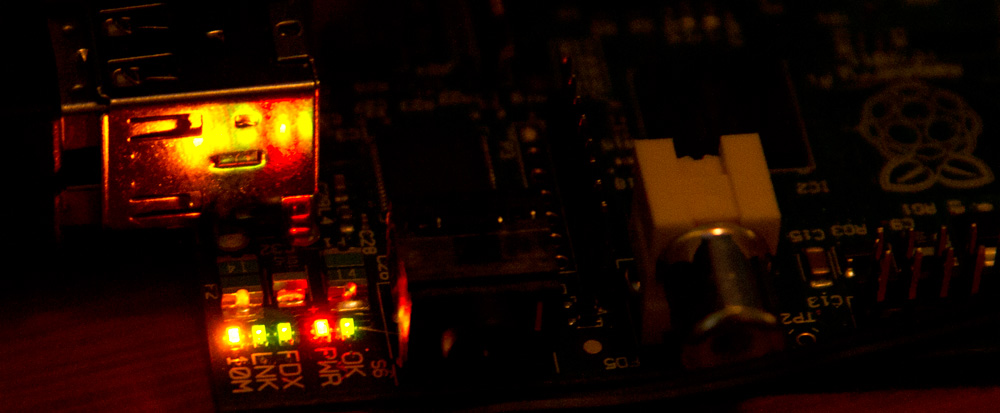
With the Card prepared, it was time to hook up to the monitor and network. I used my Blackberry charger to provide the power, connected via HDMI to a 27″ 1080p Monitor, and plugged into the network.
Its worth noting at this point that the Pi will NOT display anything until it finds a SD Card to boot from, there is no boot screen as such – all the code required to boot the device is held on the SD Card. If you have your SD card plugged in, and you see nothing on the screen and just a solitary red light on your Pi, you havent prepared the SD Card correctly. I won’t go into trouble shooting here, head on over to here is you get stuck.
Shortly after boot up, you will presented with a configuration screen where you can set various options.
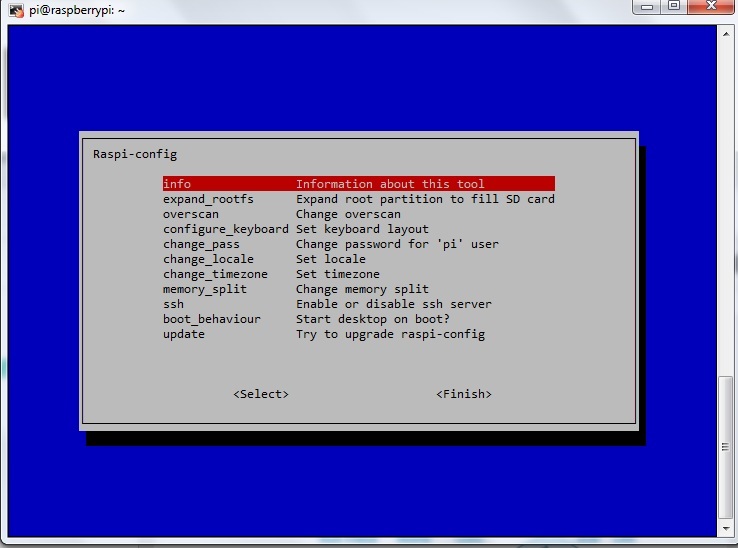
Lets look at the more important options:
EXPAND-ROOTFS – Expand Root Partition to Fill SD Card
This does what it says, so if you have installed Wheezy on a 4GB or greater card use this option and AFTER A REBOOT it will use all of the SD card. The Wheezy image takes nearly 2GB, so if you are going to install additional software or large files its worth doing, however you don’t need to do it on first boot.
OVERSCAN – Change Overscan
What would you like to do with overscan <Disable> <Enable>
Any changes will take effect after a reboot. If you change a setting and end up losing the left side of the screen you can easily edit /boot/config.txt on a PC to undo the changes.
Televisions do not usually display the whole of the picture, they Overscan and crop off a few percent of the image. This is to hide the data signals such as teletext which use the outer lines of the picture (could be a hangover from analogue TV). Computers, including the Pi, use all the lines for real display so often the image displayed by computers on TV’s is cropped.
To avoid losing the critical left column at first boot Overscan is enabled by default. This means, depending on your monitor/TV, there may be black borders around the picture. LXDE will show the wrong resolution in its display information as it shows you the size of the framebuffer.
On some displays, particularly monitors, just disabling Overscan will make the picture fill the whole screen and correct the resolution.
Change this setting as required.
CHANGE_PASS – Change password for ‘pi’ user
The default user for the Wheezy install is pi and its password is raspberry. Until you’re familiar with the setup it’s probably better to leave this password as it is at least untill you are happy changing things. Remeber, you can re-run raspi-config to change it at any time.
MEMORY_SPLIT – Change memory split
This allows you to choose how much of the RAM memory is set aside for the Broadcom Graphics Processing Unit (Videocore) and how much for the operation of the main ARM processor.
Three choices 32MiB for Videocore, 64MiB for Videocore, 128MiB for Videocore. First time users should leave it at the default 64MiB for the Videocore.
SSH – Enable or disable ssh server
Now I wanted remote access to my Pi, as desk space is limited, and I really didnt have the room for another keyboard and mouse. Luckily this is relativley straight forward, as the Wheezy image has SSH enabled by default.
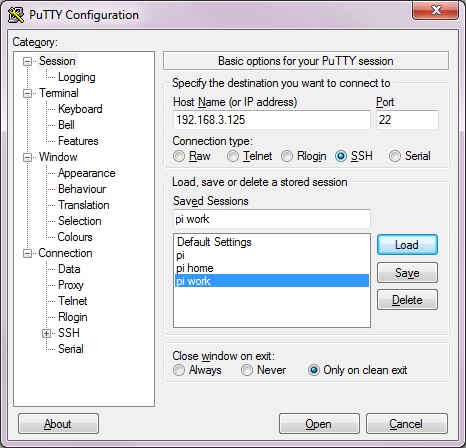
ssh means ‘secure shell’. It is a communication protocol which will allow you to log into the Raspberry Pi from another computer using a program like Putty to provide a command line interface in a terminal window.
Using Putty is pretty straightforward. You will need to know the IP address of the Pi, either by watching the startup output as it scrolls by, or by typing
{code lang:javascript showtitle:false lines:false hidden:false}sudo ifconfig -a{/code}
at the Pi’s command line or terminal window, or looking at your router.
BOOT_BEHAVIOR – Start Desktop on Boot?
This gives you two modes of working:
DESKTOP When powered up the Pi will automatically log you in as pi user and display the desktop. Pressing the red Exit button on the right hand side of the screen will give the options to logout, shutdown or reboot. Logout returns to a login screen not to the command line. The command line is only accessible through a terminal window. The experience is very similar to Windows, you may not need any linux commands ever, and its very quick to get to the desktop.
COMMAND LINE When powered up the Pi stays in the command line (the big black screen). After lots of scrolling text you will be asked for your username and password.
Then you see the standard copyright and NO WARRANTY message the latter just legalese for “your doing this at your own risk”.
Type ‘startx’ to launch graphical session
So, if at this point you type startx followed by the Enter key you will be launched into a windows style environment. When you have finished Logout using the red Exit button (bottom right). Since you started from the command line this menu has only the Logout option which takes you back to the command line. To halt you must type:
sudo haltor to reboot:
sudo rebootFor halting wait until ‘System Halted’ is displayed before pulling the plug. All the lights on the Pi except for the RED Led will be extinguished.
<FINISH>
Use this when you have completed your changes. You will be asked whether you want to reboot or not. When used for the first time its best to reboot. This should restart your Pi. Scrolling text should appear immediately and there will be a pause if you have chosen to resize your SD card.
Desktop
Log in using the provided details (Im not going to post them here least they should change in the future), then if you want a graphical enviroment, simply type ‘startx’ (Enter) and the LXDE Lightweight graphical desktop will load.
You now have access to various tools here, notably Python, the supported programming language, the Midori browser for internet/browsing, development tools and example source code for multimedia functions.
As SSH is enabled, you can now access your Raspberry Pi from another computer, either from a terminal window in linux by entering the command
{code lang:php showtitle:false lines:false hidden:false}ssh [email protected]{/code}
(obviously using the ip address you got from the ifconfig -a command) and entering the password when prompted.
The are a few programs we can use to get a remote graphical desktop, such as Cygwin and Exceed, but Im going to concentrate on a much simpler solution, Tight VNC.
Open a terminal window (or connect via SSH) and enter
sudo apt-get install tightvncserveronce installed, you can start it with
vncserver :1 -geometry 1920x1080 -depth 24Now head over to http://www.tightvnc.com/download.php and download a VNC client.
When you run, remeber to specify the display you wish to connect to the ‘:1’ we typed in the previous command:
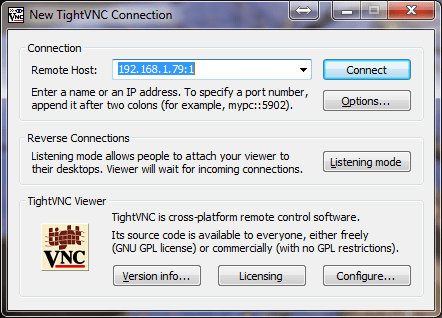
You should now be presented with the full LXDE desktop:
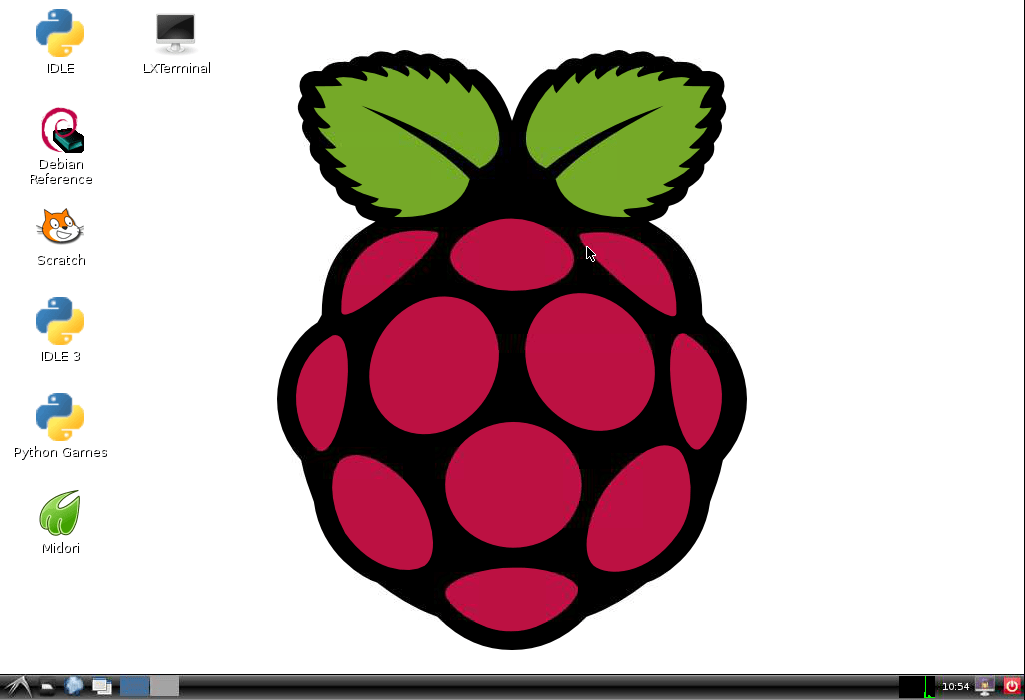
Raspberry Pi is a trademark of the Raspberry Pi Foundation