

Running HomeBridge on a Raspberry Pi is fairly simple. These instructions have been tested on a Raspberry Pi 3 with default Raspbian + PIXEL Desktop
SSH to your Pi
First thing is to connect to your Raspberry pi via SSH. I use the excellent MobaXterm package for Windows
All operations require elevation, so let’s issue the command “sudo bash”
(Note that in SSH is disabled by default in recent version of Raspbian; see this page for instructions to re-enable it.)
sudo bash
Prerequisites
Once you’re logged into your Pi, you should begin by updating the system packages
apt-get update
apt-get upgrade
apt-get install git make
Install Node
curl -sL https://deb.nodesource.com/setup_7.x | sudo -E bash -
sudo apt-get install -y nodejs
Install Avahi and other Dependencies
sudo apt-get install libavahi-compat-libdnssd-dev
Install Homebridge
npm install -g --unsafe-perm homebridge
Install Addons
Homebridge on its own is no good without an addon – I have a TP-Link WiFi plug, so I’m going to show you how to add that
Install the plugin:
npm install -g homebridge-hs100
Next, we need to create a config.json file
nano /root/.homebridge/config.json
then paste the below in
{
    "bridge": {
        "name": "Homebridge",
        "username": "B8:27:EB:42:2F:9E",
        "port": 51826,
        "pin": "031-45-154"
    },

    "description": "This is an example configuration file. You can use this as a template for creating your own configuration file.",

    "platforms": [{
        "platform": "Hs100"
    }],

    "accessories": []

 }
Press CTRL X and then Y to save
now run homebridge
homebridge
you should see something like this
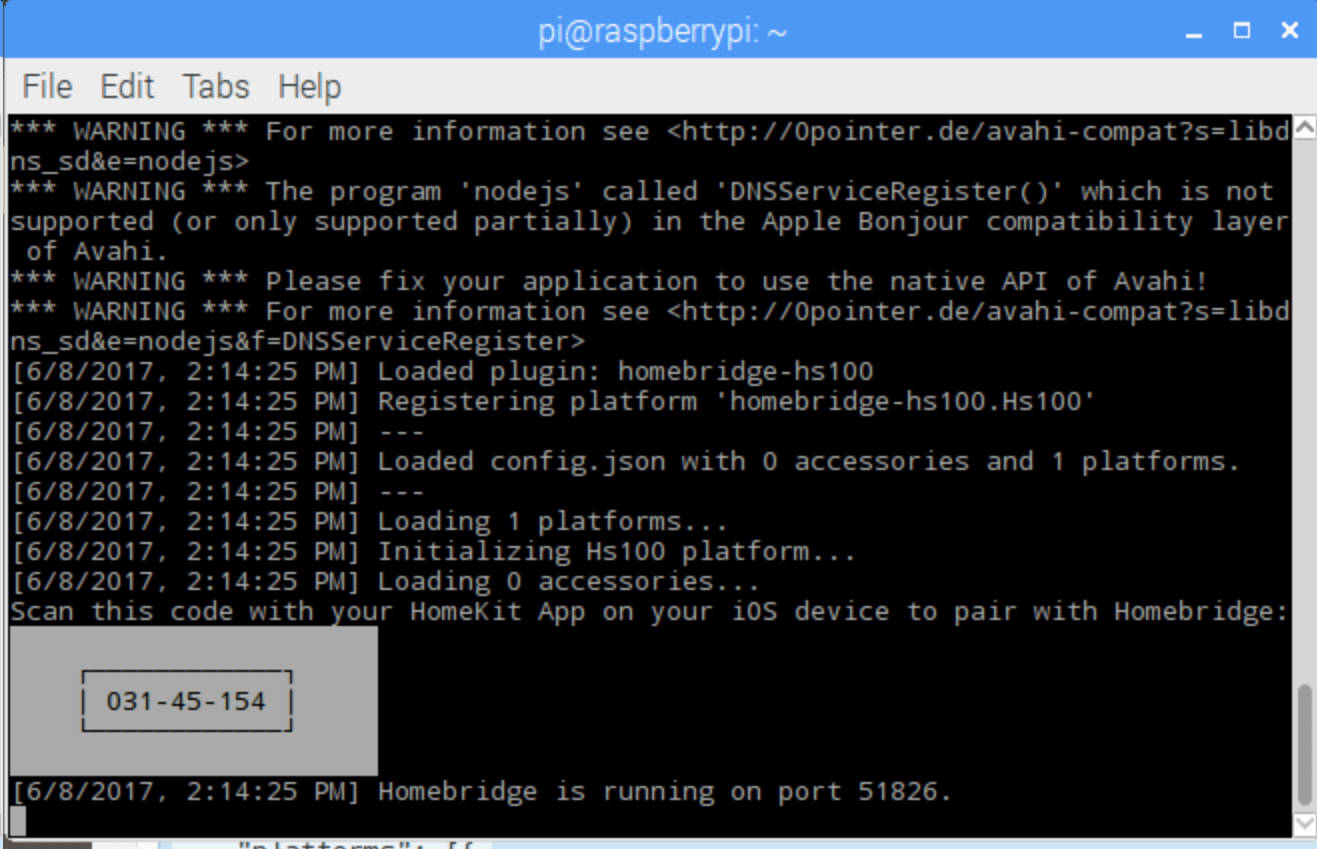
Additional plugins can be found here
Running Homebridge on Bootup
We need to create a service to run Homebridge on startup: (Thanks to this post for details)
cd /etc/default
nano homebridge
Paste these lines in:
# Defaults / Configuration options for homebridge
# The following settings tells homebridge where to find the config.json file and where to persist the data (i.e. pairing and others)
HOMEBRIDGE_OPTS=-U /var/lib/homebridge

# If you uncomment the following line, homebridge will log more
# You can display this via systemd's journalctl: journalctl -f -u homebridge
# DEBUG=*
Press CTRL X and then Y to save
cd /etc/systemd/system
nano homebridge.service
Paste these lines in:
[Unit]
Description=Node.js HomeKit Server
After=syslog.target network-online.target

[Service]
Type=simple
User=homebridge
EnvironmentFile=/etc/default/homebridge
# Adapt this to your specific setup (could be /usr/bin/homebridge)
# See comments below for more information
ExecStart=/usr/bin/homebridge $HOMEBRIDGE_OPTS
Restart=on-failure
RestartSec=10
KillMode=process

[Install]
WantedBy=multi-user.target
Press CTRL X and then Y to save.
Next, we need to add a user and set up a directory…
useradd -M --system homebridge
mkdir /var/lib/homebridge
chown homebridge:homebridge /var/lib/homebridge
Configuration
In order to use the systemd service as is, the following folders and user have to exist
A directory called, /var/lib/homebridge writable by the user created above, and a corresponding config.json in that directory. Homebridge by default looks for its configuration in: /home/<username>/.homebridge so we need to copy the config file across:
cp /root/.homebridge/config.json /var/lib/homebridge/
Then Enable and run the service (first time) with the following commands:
systemctl daemon-reload
systemctl enable homebridge
systemctl start homebridge
You can check the status of the service by typing
systemctl status homebridge
you should see something like this:
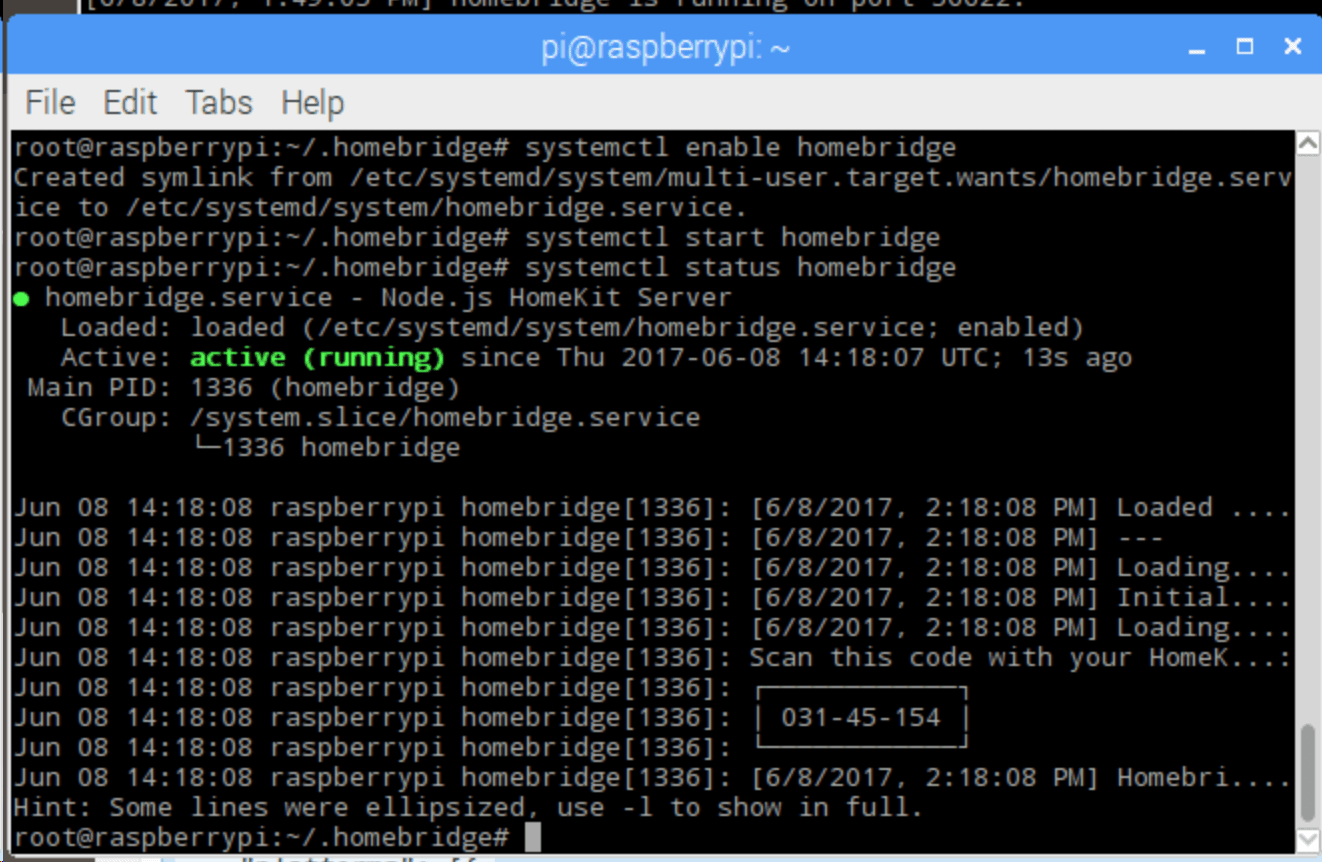
On subsequent reboots, it should start automatically, if not, use the command journalctl -u homebridge to check the error cause.
You should now be able to go into the iOS Home app and use the code to add your devices.